View Single Post in: LotExpander for Free Time (Obsolete)
#410
 20th Sep 2007 at 4:59 PM
20th Sep 2007 at 4:59 PM
Preparing Your Lot:
Before you attempt to expand your lot, you might want to make sure that the lot has enough room around it for the expansion. This is not a required step, but some people dislike seeing the temporary overlap of their expanded lot with roads and other lots within the neighborhood. If you create space around your lot before expanding it, then you shouldn't see any overlap during the intermediate steps.
Phase 1:
The first phase of expanding a lot is handled by the LotExpander program:
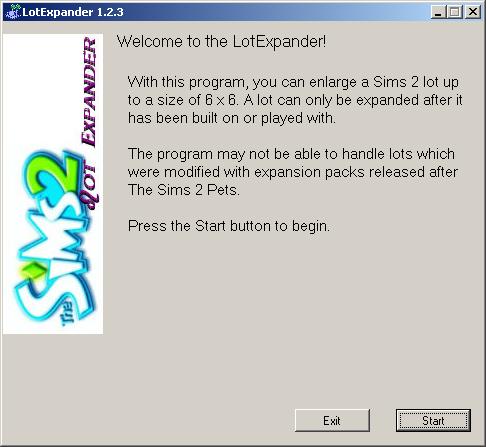
- Run the LotExpander. The first screen gives information about the program, including which version is running and the latest EP / SP supported.
Pay close attention to this information. Using the LotExpander on a lot which was created or modified with an unsupported game may result in corruption of your lot or neighborhood.
Click on the "Start" button to continue.
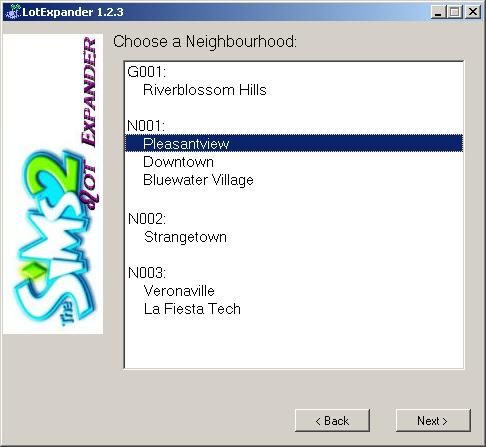
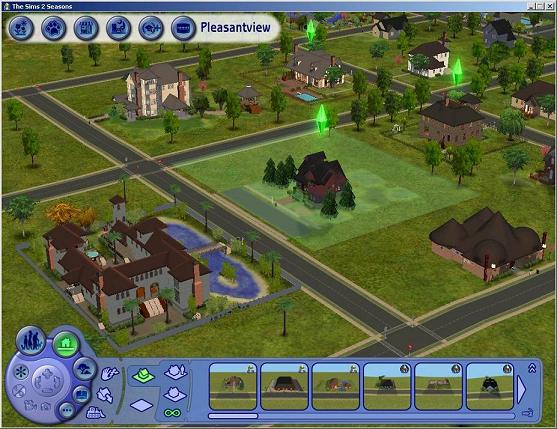
- A list of all known neighborhoods and subneighborhoods is displayed. Select the neighborhood which contains the lot to be expanded, then click on the "Next" button.
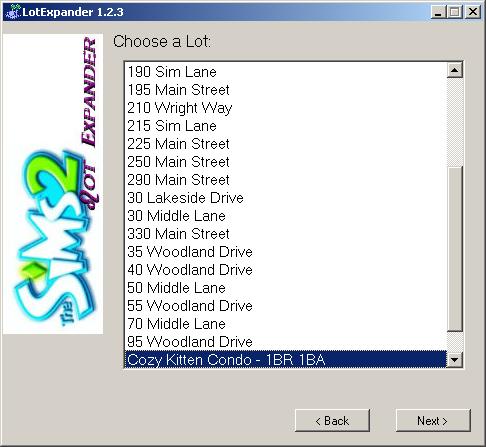
- A list of all known lots within the selected neighborhood is displayed. Select the lot to be expanded, then click on the "Next" button.
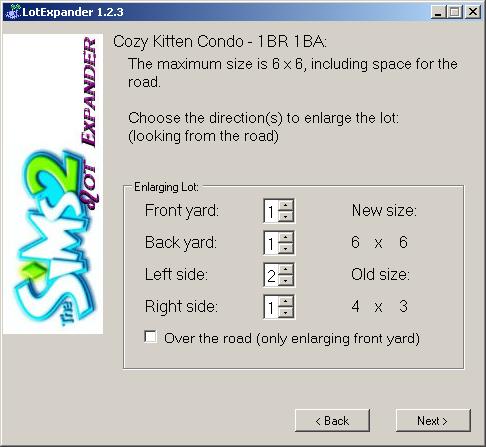
- Information about the lot is displayed. Ensure that this is the correct lot. Then, increase the lot size as desired.
The maximum size of a lot is 6x6; this includes additional space for the road at the front of the lot.
The "Over the road" feature is an advanced feature. Do not click on this checkbox unless you know what you are doing.
When satisfied with the new size displayed, click "Next".
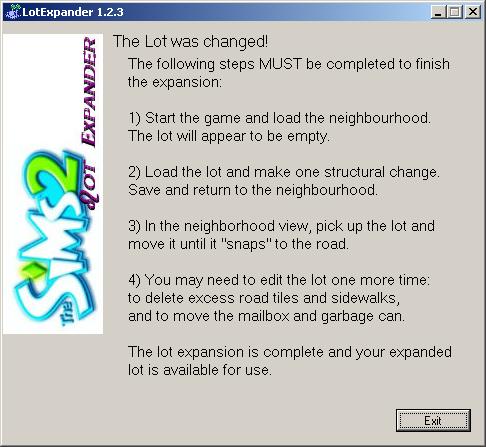
- The LotExpander will now attempt to expand your lot. When this phase of the lot expansion is complete, the following screen is displayed.
NOTE: If you see anything other than this screen, stop and check out:
LotExpander Errors and Warnings:
http://www.modthesims2.com/showpost...7&postcount=422
Phase 2:
After successfully running the program (see Phase 1 above), be sure to follow these instructions. The second phase of expanding a lot is handled by the Sims 2 game itself.
The main thing to remember is that the LotExpander is only doing a part of the work. It relies on the game to regenerate some information. You must complete these steps for the lot to be expanded correctly.
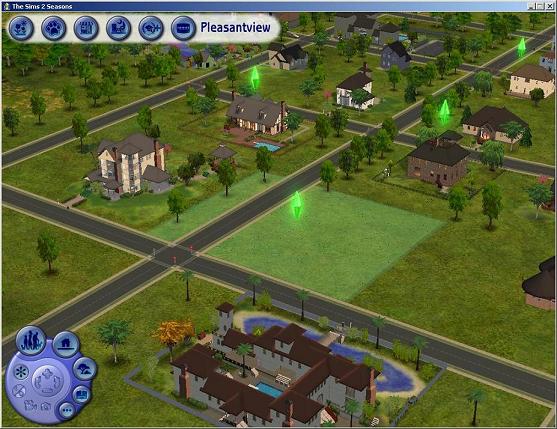
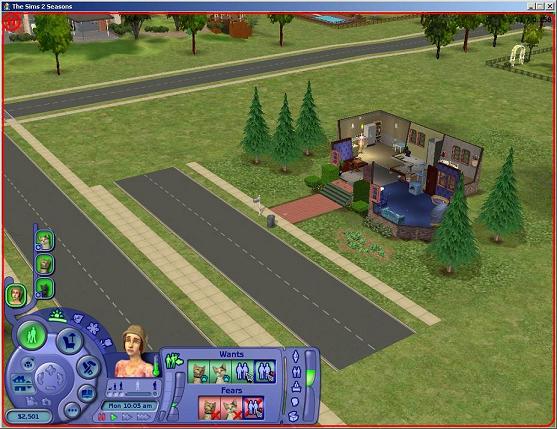
- Start the game and load the neighbourhood. I usually run in Windowed mode, since it is easier to stop the game if something goes wrong. The lot will appear to be empty and may seem to overlap the road or other lots. No need to worry, these issues will be resolved by carefully following the instructions.
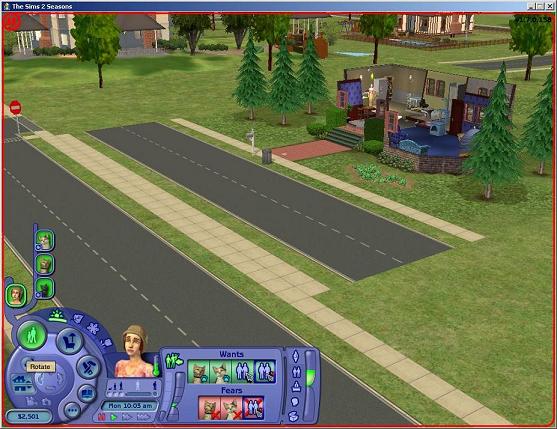
- Load the lot and make one structural change, such as moving a door or window (and then moving it back).
Don't worry if the road looks odd or if the lot appears to overlap another lot, this will be resolved later.
Note: If the lot that you are changing is an owned business lot (Open for Business), you will probably have to send a member of the owning family to the lot in order to make the build change, since there is no other way to edit the lot.
Technical information: This step convinces the game to regenerate the neighborhood picture of the lot, known as the "lot imposter". The lot imposter allows the lot to be manipulated within the neighborhood view.
- Save and return to the neighbourhood. The buildings and other structures should now re-appear on the lot, although the lot may still seem to overlap the road or other lots.
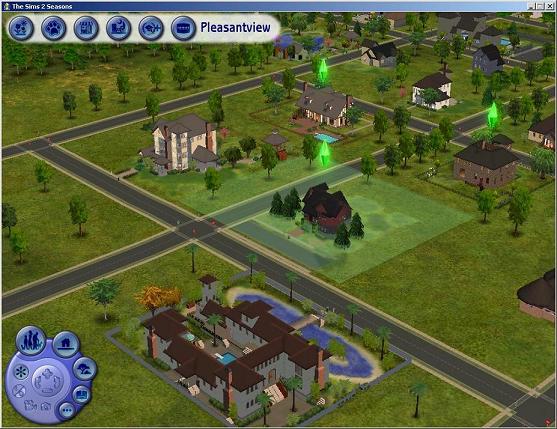
- In the neighborhood view, pick up the lot and move it until it "snaps" to the road.*
If you are unable to place the lot, then you may need to move it somewhere else in the neighborhood (where there is more space available). You may also need to rotate the lot to allow it to be placed.
If you are still unable to place the lot, press the "escape" key and the lot will jump back to it's original location. Then, try to make room for the expanded lot by moving neighborhood decorations and other lots out of the way.
Technical information: This step convinces the game to recreate the road for the lot, and to reconcile any discrepancies between the lot and the neighborhood.
* Note: Although the standard procedure is to move the lot, this step may be optional or even counterproductive in certain rare situations. Unless you have a strong reason to avoid this step, I would recommend that you do it.
People who are using the LotExpander for advanced purposes may need to skip this step. Advanced applications include: creating intentionally overlapping lots to mimic linked homes, creating long beach lots, and expanding a lot over the road.
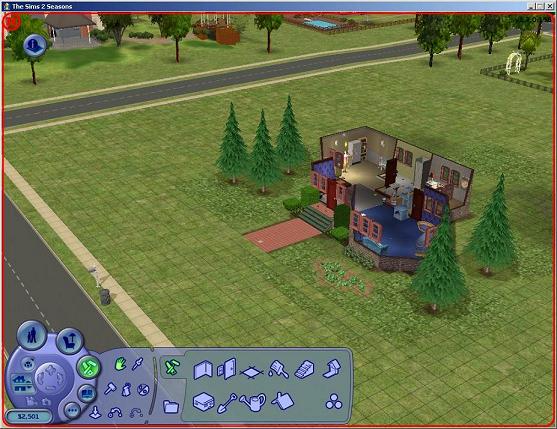
- You may need to edit the lot one more time: to delete excess road tiles and sidewalks, and to move the mailbox and garbage can. Just delete the road tiles and sidewalks as if they were regular floor tiles; you may need moveobjects on for this step.
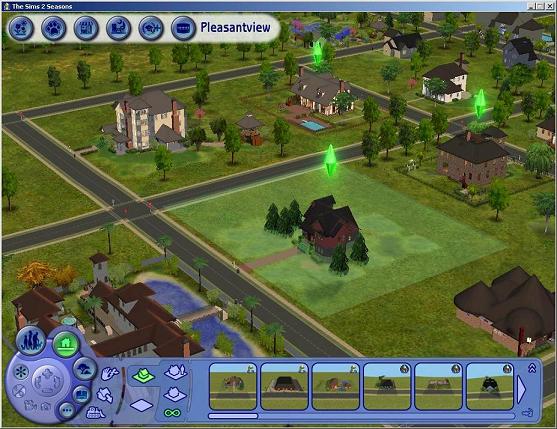
Lot before any changes:
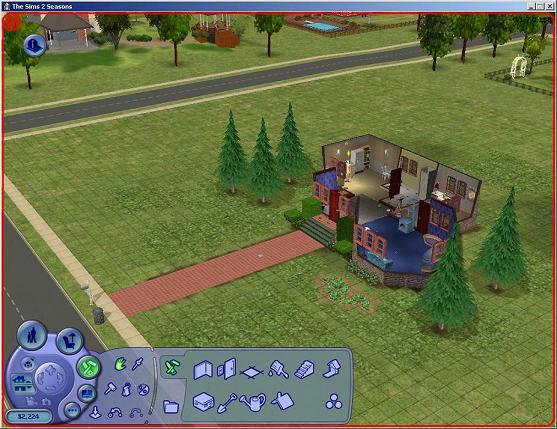
After deleting the excess tiles and moving the mailbox and garbage:
Other changes to improve the appearance of the lot:
- If you have followed these instructions, then the lot expansion is complete and your expanded lot is available for use.
- If your lot still has problems, please look at the post below before doing anything else:
Recovering from Problems:
http://www.modthesims2.com/showpost...5&postcount=411